Split is a maze of a Valorant map and one that can be pretty difficult to master. The map can be a lot of fun once you figure it out though. To really master it, you’ll need to think about how your character’s abilities work and how the overall map affects things. You need a good sense of positioning and how the flow of attackers and defenders work in the overall map. This Split Valorant guide can help you figure out what types of approaches work for defense and attack. Players with a better map knowledge have a lot more game sense and win more rounds. This Split guide covers everything you need to know about the map.
Split is a bit of an unpopular map. A lot of Valorant players think it heavily favors the defending team. It is true that it’s a hassle to attack. However, this belief often makes defenders sloppy. With the right strategies, you can have an easier time on the Valorant Split map. Split can be fun, there are some vital spots for lines of sight that can help you make progress no matter which side you’re playing. This is everything you need to know.
Split Guide – Valorant Maps
This Split guide is going to be broken down into attacking and defending. Each side has different tactics. However, the key points that you’ll need to control are the same, even if the strategy for getting there is different. This Split guide also uses some fairly standard callouts, which you should learn in general for better communication with your team.
Defending Split Guide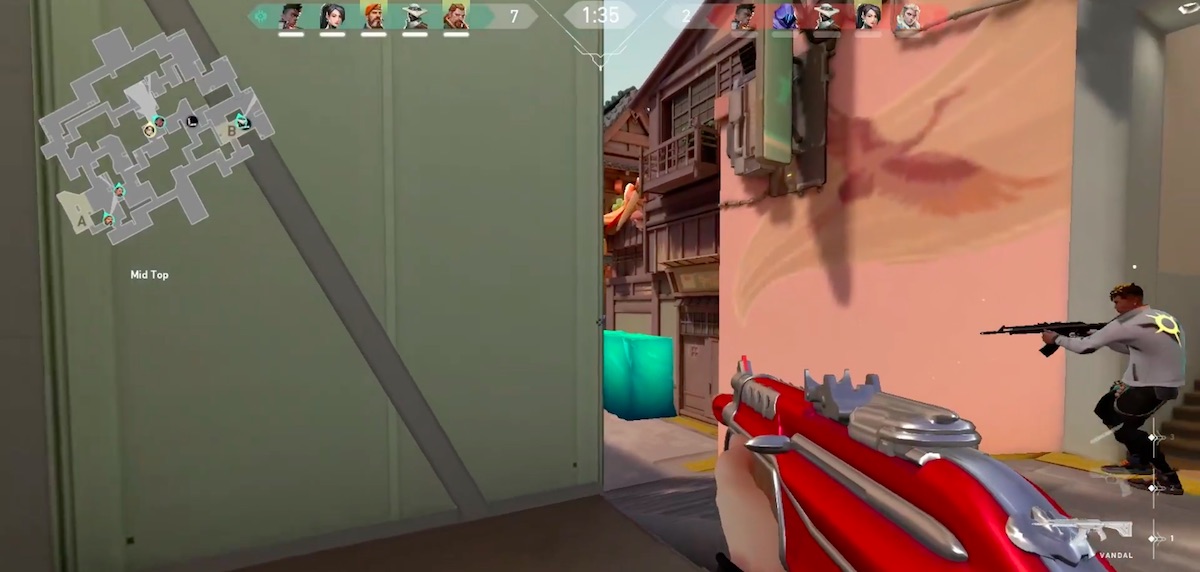
Defending split is often thought to be the easiest job on the map. Doing it effectively though means breaking it down into a few different parts. Because of the layout of the map, A and B are really quite far apart. That makes the mid really important. Defending and holding down the mid is vital. If you lose the mid, you can easily be overrun on A or B before other players can rotate over. This is what you need to know about defending the mid on Split:
- Utility cycling is a more helpful strategy here. That’s where you or some other agents cycle abilities. Might feel wasteful, but with the right timing you can stretch out limited abilities to hold off an entire enemy team.
- The best agents for this are Brimstone, Sage, Omen, and Viper. Each has abilities that lend themselves well to cycling.
- There are limited access points to the middle, hitting each with smoke or walls blocks them and allows you to focus more clearly on the remaining entry points.
- If you’re cycling, cooperation is key. Don’t overlap abilities. If you do this right, you can stretch things out a lot longer.
- Ability cycling can keep enemies locked out for an obnoxious amount of time. This will fairly often invoke some rage from attackers, then typically they’ll make a mistake.
- Sage’s wall can block off the middle entirely. However, if you set it a little lower on the stairs you can leave a gap to see the enemy’s lower halves. This is valuable intel while cycling.
- With Sage and Brimstone, you could also try to push early.
- In this strategy, use the wall to block off-market then frag through the other side. You could get some kills, then pull back if you lose the advantage.
Defending B Side
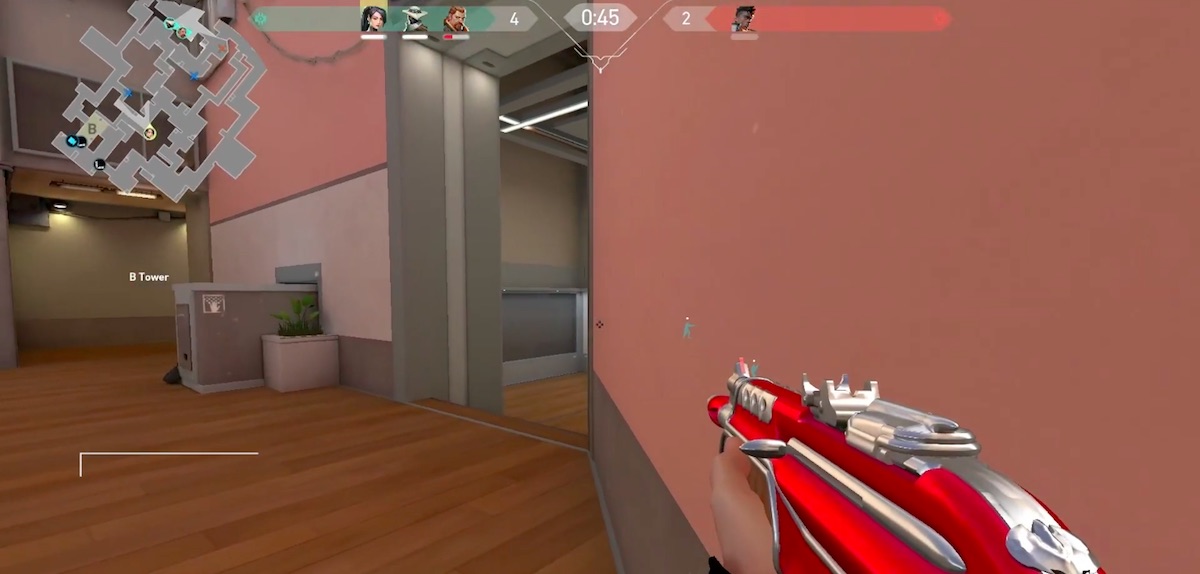
B side is the simpler side for you to defend on Split, largely because there isn’t too much you can do. The B side is difficult to keep locked down, it is too remote to have two players stationed at and it has more entry points. A lot of this one comes down to having great Valorant aim and a high skill with your agent. This is what you need to know:
- One devoted Agent to B side will work well. If effective, one is always you need unless under heavy attack.
- This player is delaying and staying alive. They’re relying intel to the players on mid who can rotate over if it becomes overwhelming. Standard defensive positioning really.
- Since this player is only on mid, a Cypher, Sage, or even Viper is effective.
- Cypher is the intel gathering choice. You can set up cameras and possibly even stray from mid as long as you keep an eye on things.
- Viper can set up a poison cloud at B main. This can make B into a point with a single access. A player comes in that access point, walling off the other will make it a one on one duel. At that point, it just comes down to the defender’s skill.
- This might be a bit dull, but don’t try to push from B. It isn’t really worth it. You gain little and have a high risk.
Defending the A Side
The A side is a bit more generic in your defense. This split is similar to gameplay in CS GO, so if you’re experienced there you’ll probably do well here. This is what you need to know about Defending the A side on Split:
- A side is for a passive type of play rather than aggressive. The entry points aren’t laid out to encourage pushing.
- It’s vital that your teammates in middle give you the intel you need here. An A side player needs support.
- You should be able to hold A by sticking to a position and getting the enemies as they peak in. It isn’t easy, but it is the best strategy rather than darting around.
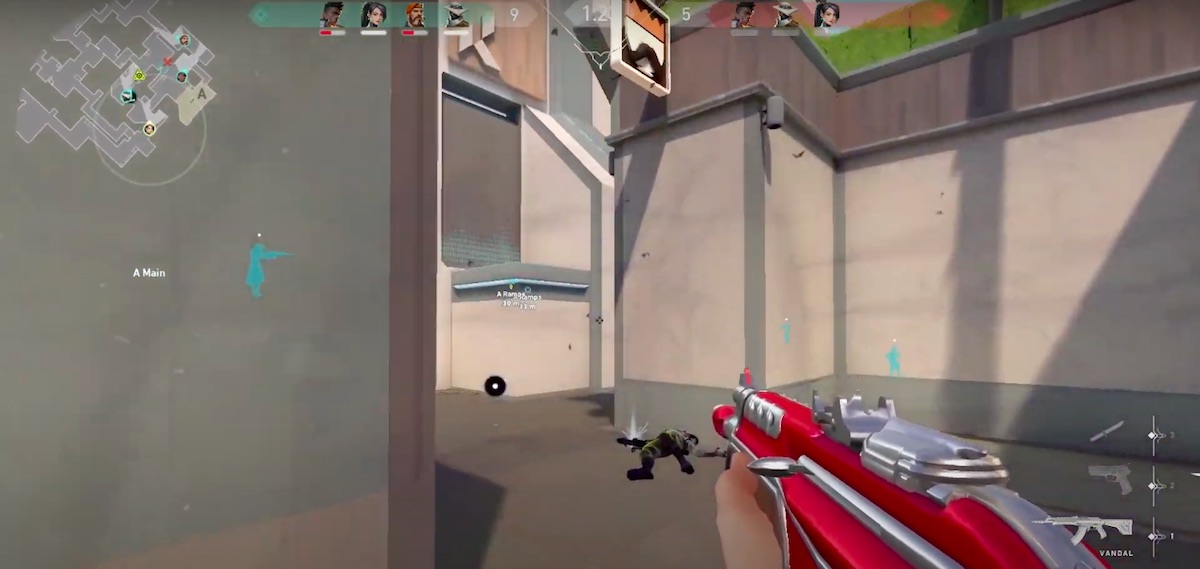
- The Ramp in A main is quite important. If you give it up, you give attackers map control for free.
- A good strategy is to via for map control early. Go for ramp right out of the gate. If you can take it, you’ll push attackers back and be off to a good start.
- After this, you can fall back when you lose the advantage. You’ll still be in a good position.
- When A is under heavy attack, have one player at heaven and another at the side. This gives you a crossfire that can take out a lot of attackers.
Split Guide – Attacking
While Split isn’t as lopsided as its reputation suggests, you have a harder job attacking. These are some key tips and tricks for dividing up your players and approaching Split in the strongest possible position.
Attacking the Middle
As with defending, control of the middle can make things much easier for you. Attacking the middle in Split is going to be a big task, but a lot comes down to patience. This is what you need to know:
- The better way to attack is to wait, rather than try to brute force your way in.
- The early game will see heavy utility usage here. You should wait this out. It is better to let the utilities burn out before heading to the market.
- You can even bait some out if you’re feeling confident.
- After that’s through, you can work in gradually.
- Take the ropes angles as a good sniper site. This can help you push in gradually and carefully.
- You can then clear the angle by mailroom, and continue to force into the middle.
- Be very careful when pushing through Heaven. A single flash can get multiple players if you group up.
- Wait for someone to peak, then try to take them. If crossing in the open, don’t go all together and be sure no one is peaking.
- If you can hold the middle, then you will have a much easier time in taking out either site. This is easier said than done though.
Attacking the B Side
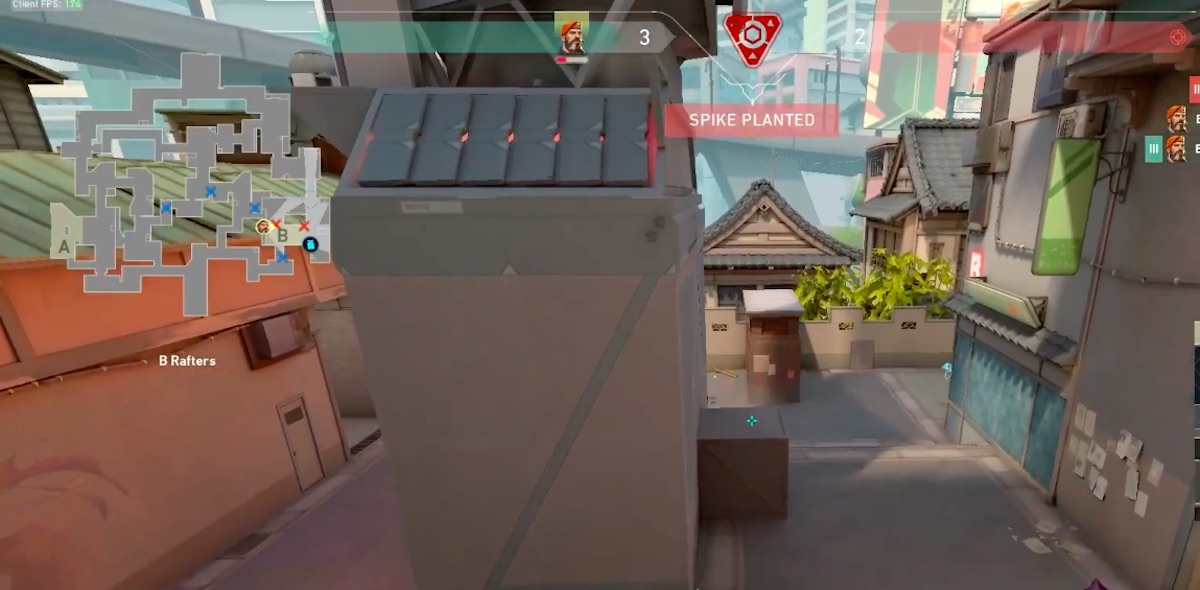
The B side is slightly easier for attackers to approach than the A. It does depend on your team’s positioning and collaboration though. These are some tips and tricks to attacking B on Split:
- Attacking B is going to be harder if your team is too spread out. This will really weaken your approach.
- Try to prod inwards and get the first kill on B. If you can, you can get an easier time rolling through B after this.
- Get a judge on how many payers are actively in B. Prodding and checking from the various approaches should help here, as will intel about what’s happening elsewhere.
- If you’re a confident aimer, then you can push in from the middle flank, taking it angle to angle.
- If the enemies in there are cycling, you would just have to wait it out.
- Once that’s played, then it’s just down to your aim and timing when playing the angles coming through.
- Usually, there won’t be too many players here. However, you need to be careful of those rotating in eventually.
- When you’re holding B you need to flank off the entries to keep everything safe.
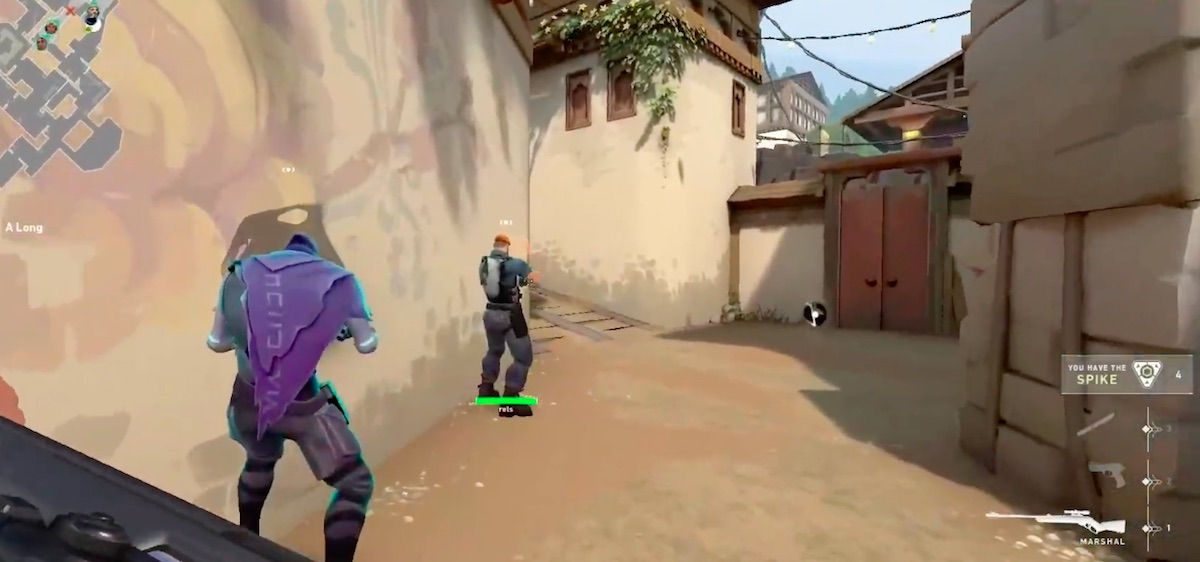
Attacking the A Site in Split
The A side is a more difficult approach when you’re attacking on Split. This is what you need to know about the approach:
- You need to focus on taking Heaven. This is the best way in.
- Viper, Sova, and Brimstone work well, but so do Jett and Phoenix with a certain playstyle. That playstyle is dependent on actually being skilled with duellists though.
- Team coordination and a decent stock of abilities are important for attacking A in Split.
- A wall can be positioned to block off both Ramp and Heaven, you can use the smaller opening to push in with frags.
- Be careful of the catwalk if you’re approaching through A short. It can be dangerous
- If the enemy team is focusing on Ramp, then reposition. If there’s a weakness then always try to get through that way.
- You can get early info with Sova by bouncing an arrow off the billboard to ramp. This is pretty circumstantial though.
- Crossing the opening by Ramp is risky. This is, even more, the case if you’re low on abilities.
- From Cubby, peak the first doorway. From here you can pass through and try to block off ropes.
- If you succeed there, then you only have to worry about players in the site itself.
- That just comes down to utilities you have available and outplaying the enemy.
Split is a Valorant map that is a bit harder to go from the attacking side. However, this doesn’t have to be the case. While these strategies will be helpful, a lot of them rely on having your fundamentals down. Often, that’s what’s letting a side down; communication and the fundamentals. Our guides to the basics should be able to help there.
Other Helpful Valorant Articles
- How to Get Valorant Skins – Guide
- Valorant Killjoy Guide – Abilities, Tips and Tricks
- Who is the Best Valorant Team?
- How to Counter-Strafe in Valorant
- The Best Valorant Team Composition
- Ascent Map Guide